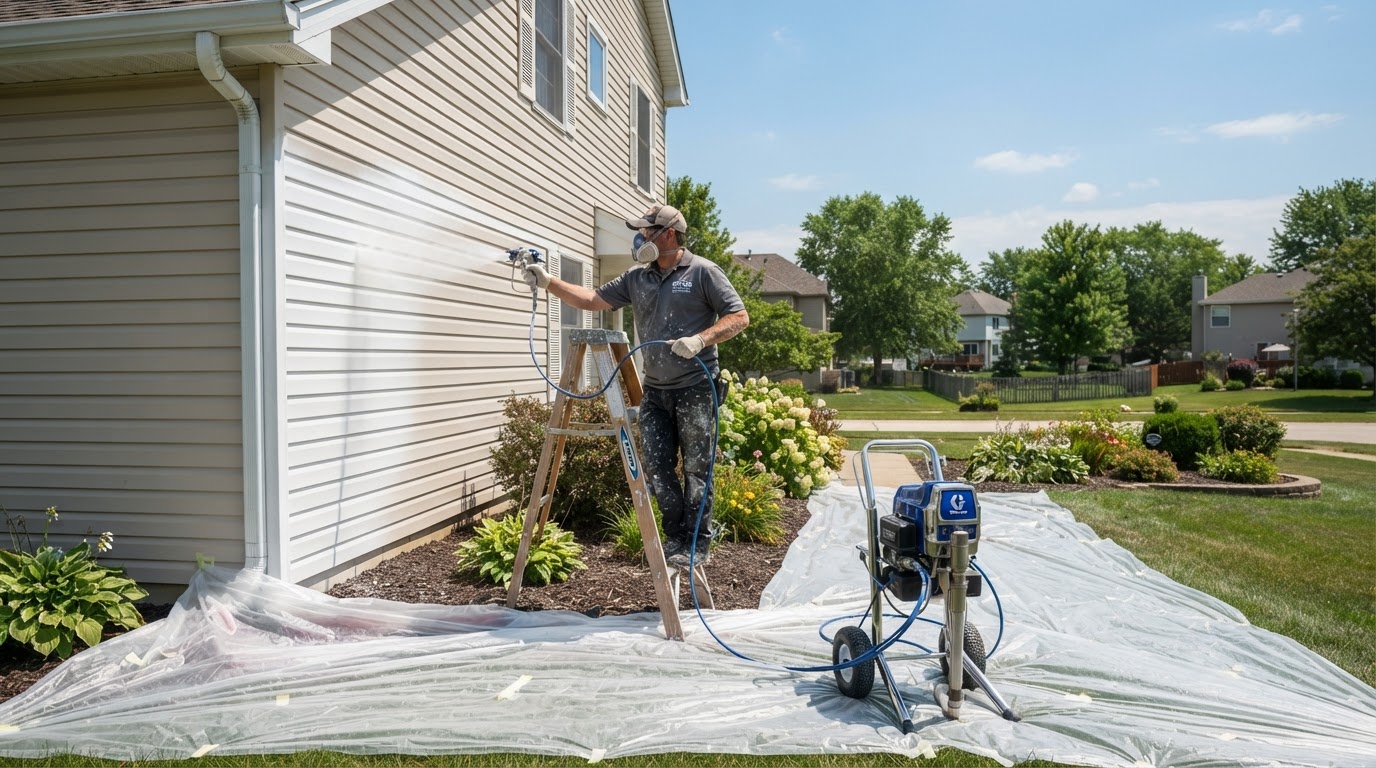

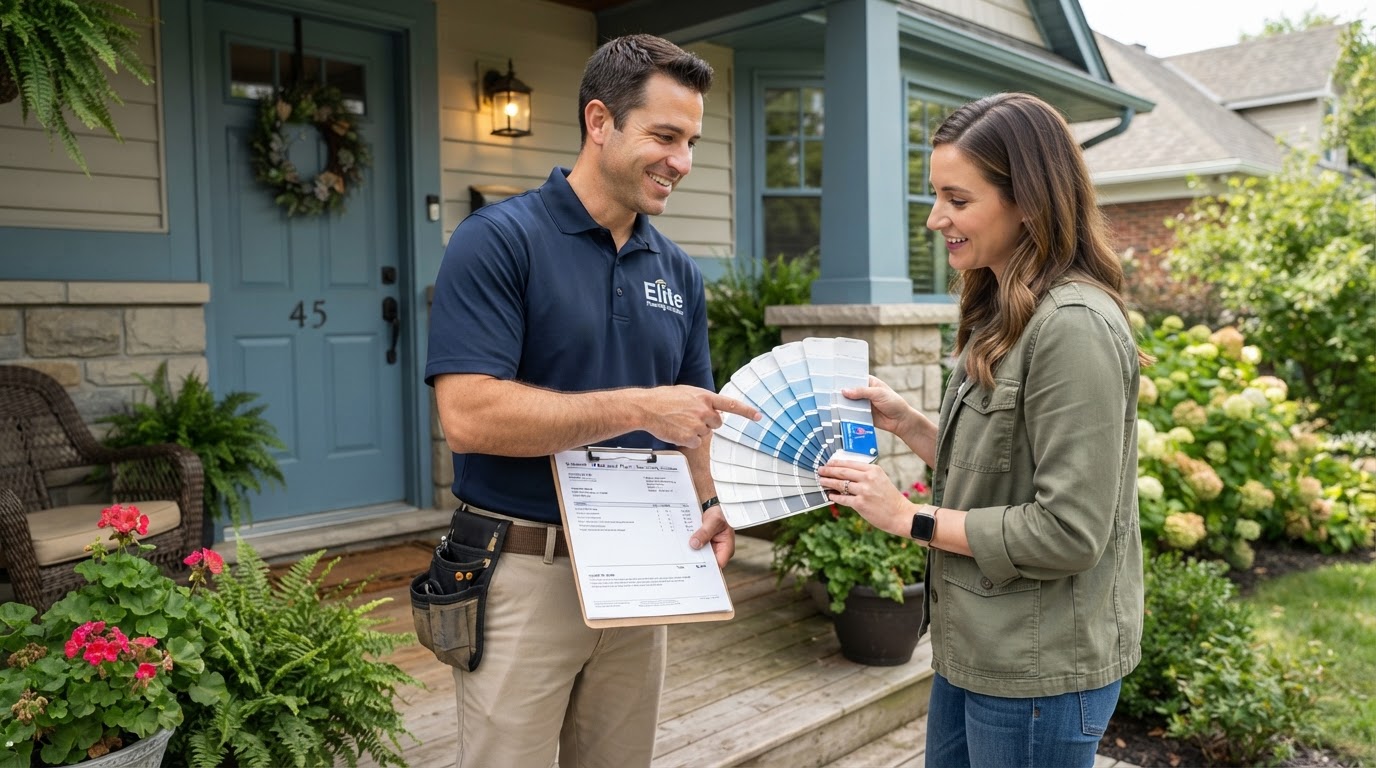
Residential exterior painting protects your home and refreshes its look. Learn how to plan scope, products, timing, and cleanup for a durable result.
Defining the Scope
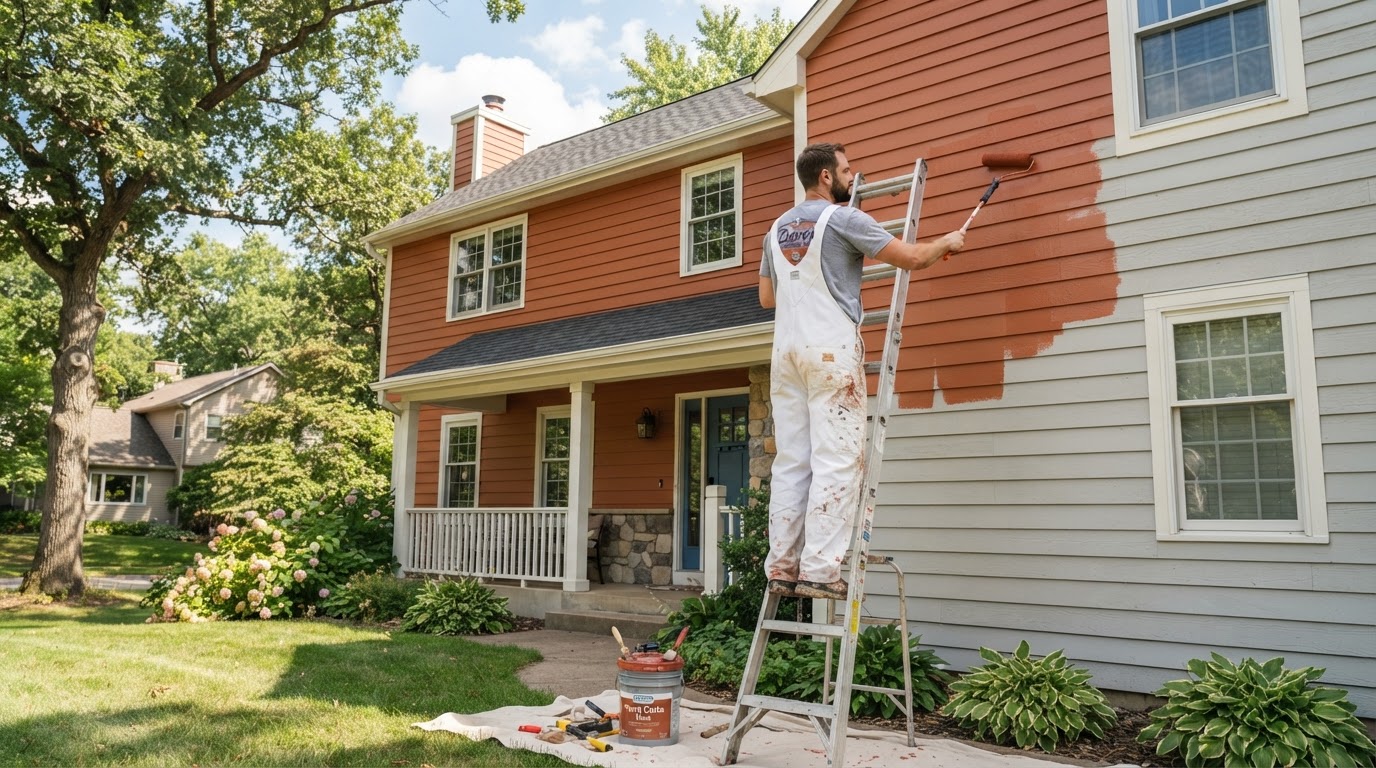
Residential exterior painting starts with a clear scope. Walk your home and note peeling areas, rotted trim, chalky siding, and failed caulk. The size of the home, its height, the complexity of trim, and the condition of the existing coating all determine how much preparation and labor the project requires.
Sharing these notes with each estimator helps them price the real work rather than a best-case version of the job, and it lets you compare quotes on equal footing.
Selecting the Right Products
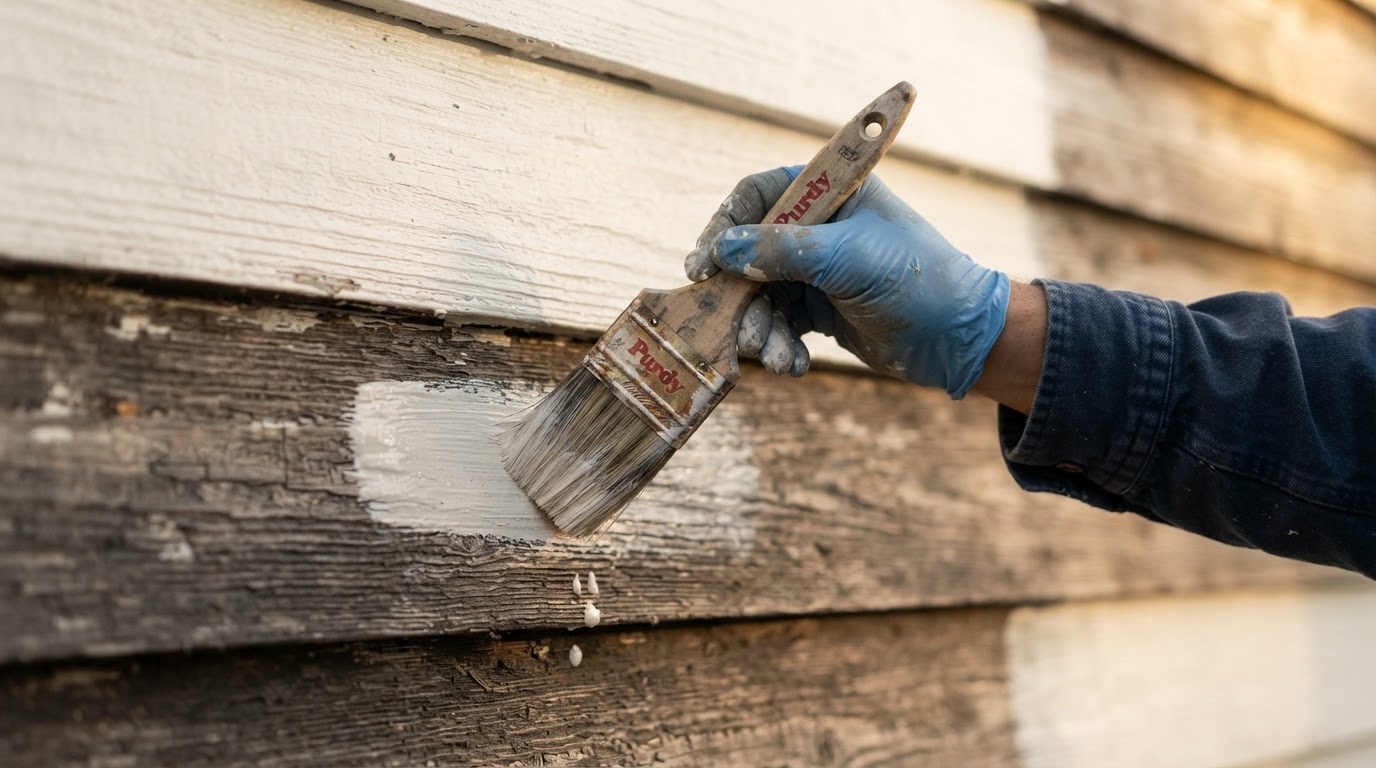
Premium acrylic latex paints formulated for exteriors offer better UV resistance, color retention, and flexibility than economy lines. Your painter should match primer to the substrate—stain-blocking primer for cedar or redwood, masonry primer for new stucco, and rust-inhibitive primer for metal.
Ask which sheen will be used where. Satin is common for the body; semi-gloss is standard for trim, doors, and shutters because it resists scuffs and cleans easily. A contractor who explains these choices is invested in how the finish performs, not just how it looks on day one.
Scheduling Around Weather
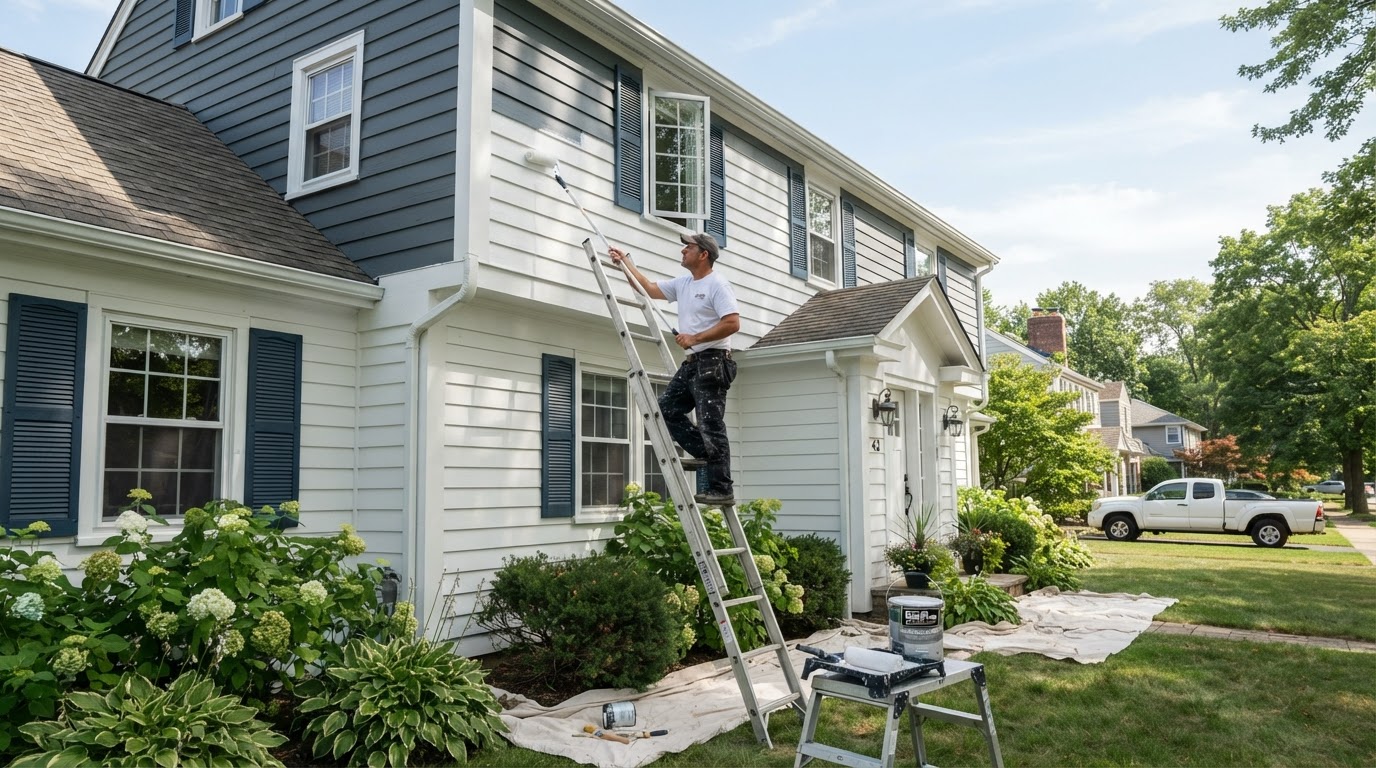
Residential exterior painting depends on weather. Paint needs a dry surface, moderate temperatures, and enough time between coats to cure. Crews monitor forecasts and may reschedule around rain, high humidity, or extreme heat, all of which can compromise adhesion and drying.
Plan for the project to span several consecutive dry days, and ask your contractor how weather delays are handled.
Cleanup and Final Walkthrough
A professional project ends with a final walkthrough where you inspect for missed spots and confirm cleanup. Ask how long to wait before washing the new finish and what the warranty covers. Use our directory to find painting companies experienced with residential exterior painting projects.